
1920's Desk Makeover
This desk from the 1920’s was truly a labor of love. A childhood friend entrusted the desk to me and said “I can’t wait to see what you do with it.” I had no idea what I was getting myself into, but I knew I wanted to give it a 2020 twist. Little did I know that once I took one screw out it was pretty much going to fall a part and it also had wood rot which made the project even more difficult.
Follow me on this journey to see the process of putting this desk back together and still holding it’s 1920’s integrity.


As you can see from the backside of the desk, it was marred and it had a bad case of wood rot! While it can not be seen, the desk is extremely fragile. I came up with tons of ideas for the desk from a wine rack to a flower holder. Ultimately, I decided to keep it as it was meant to be used, a desk.
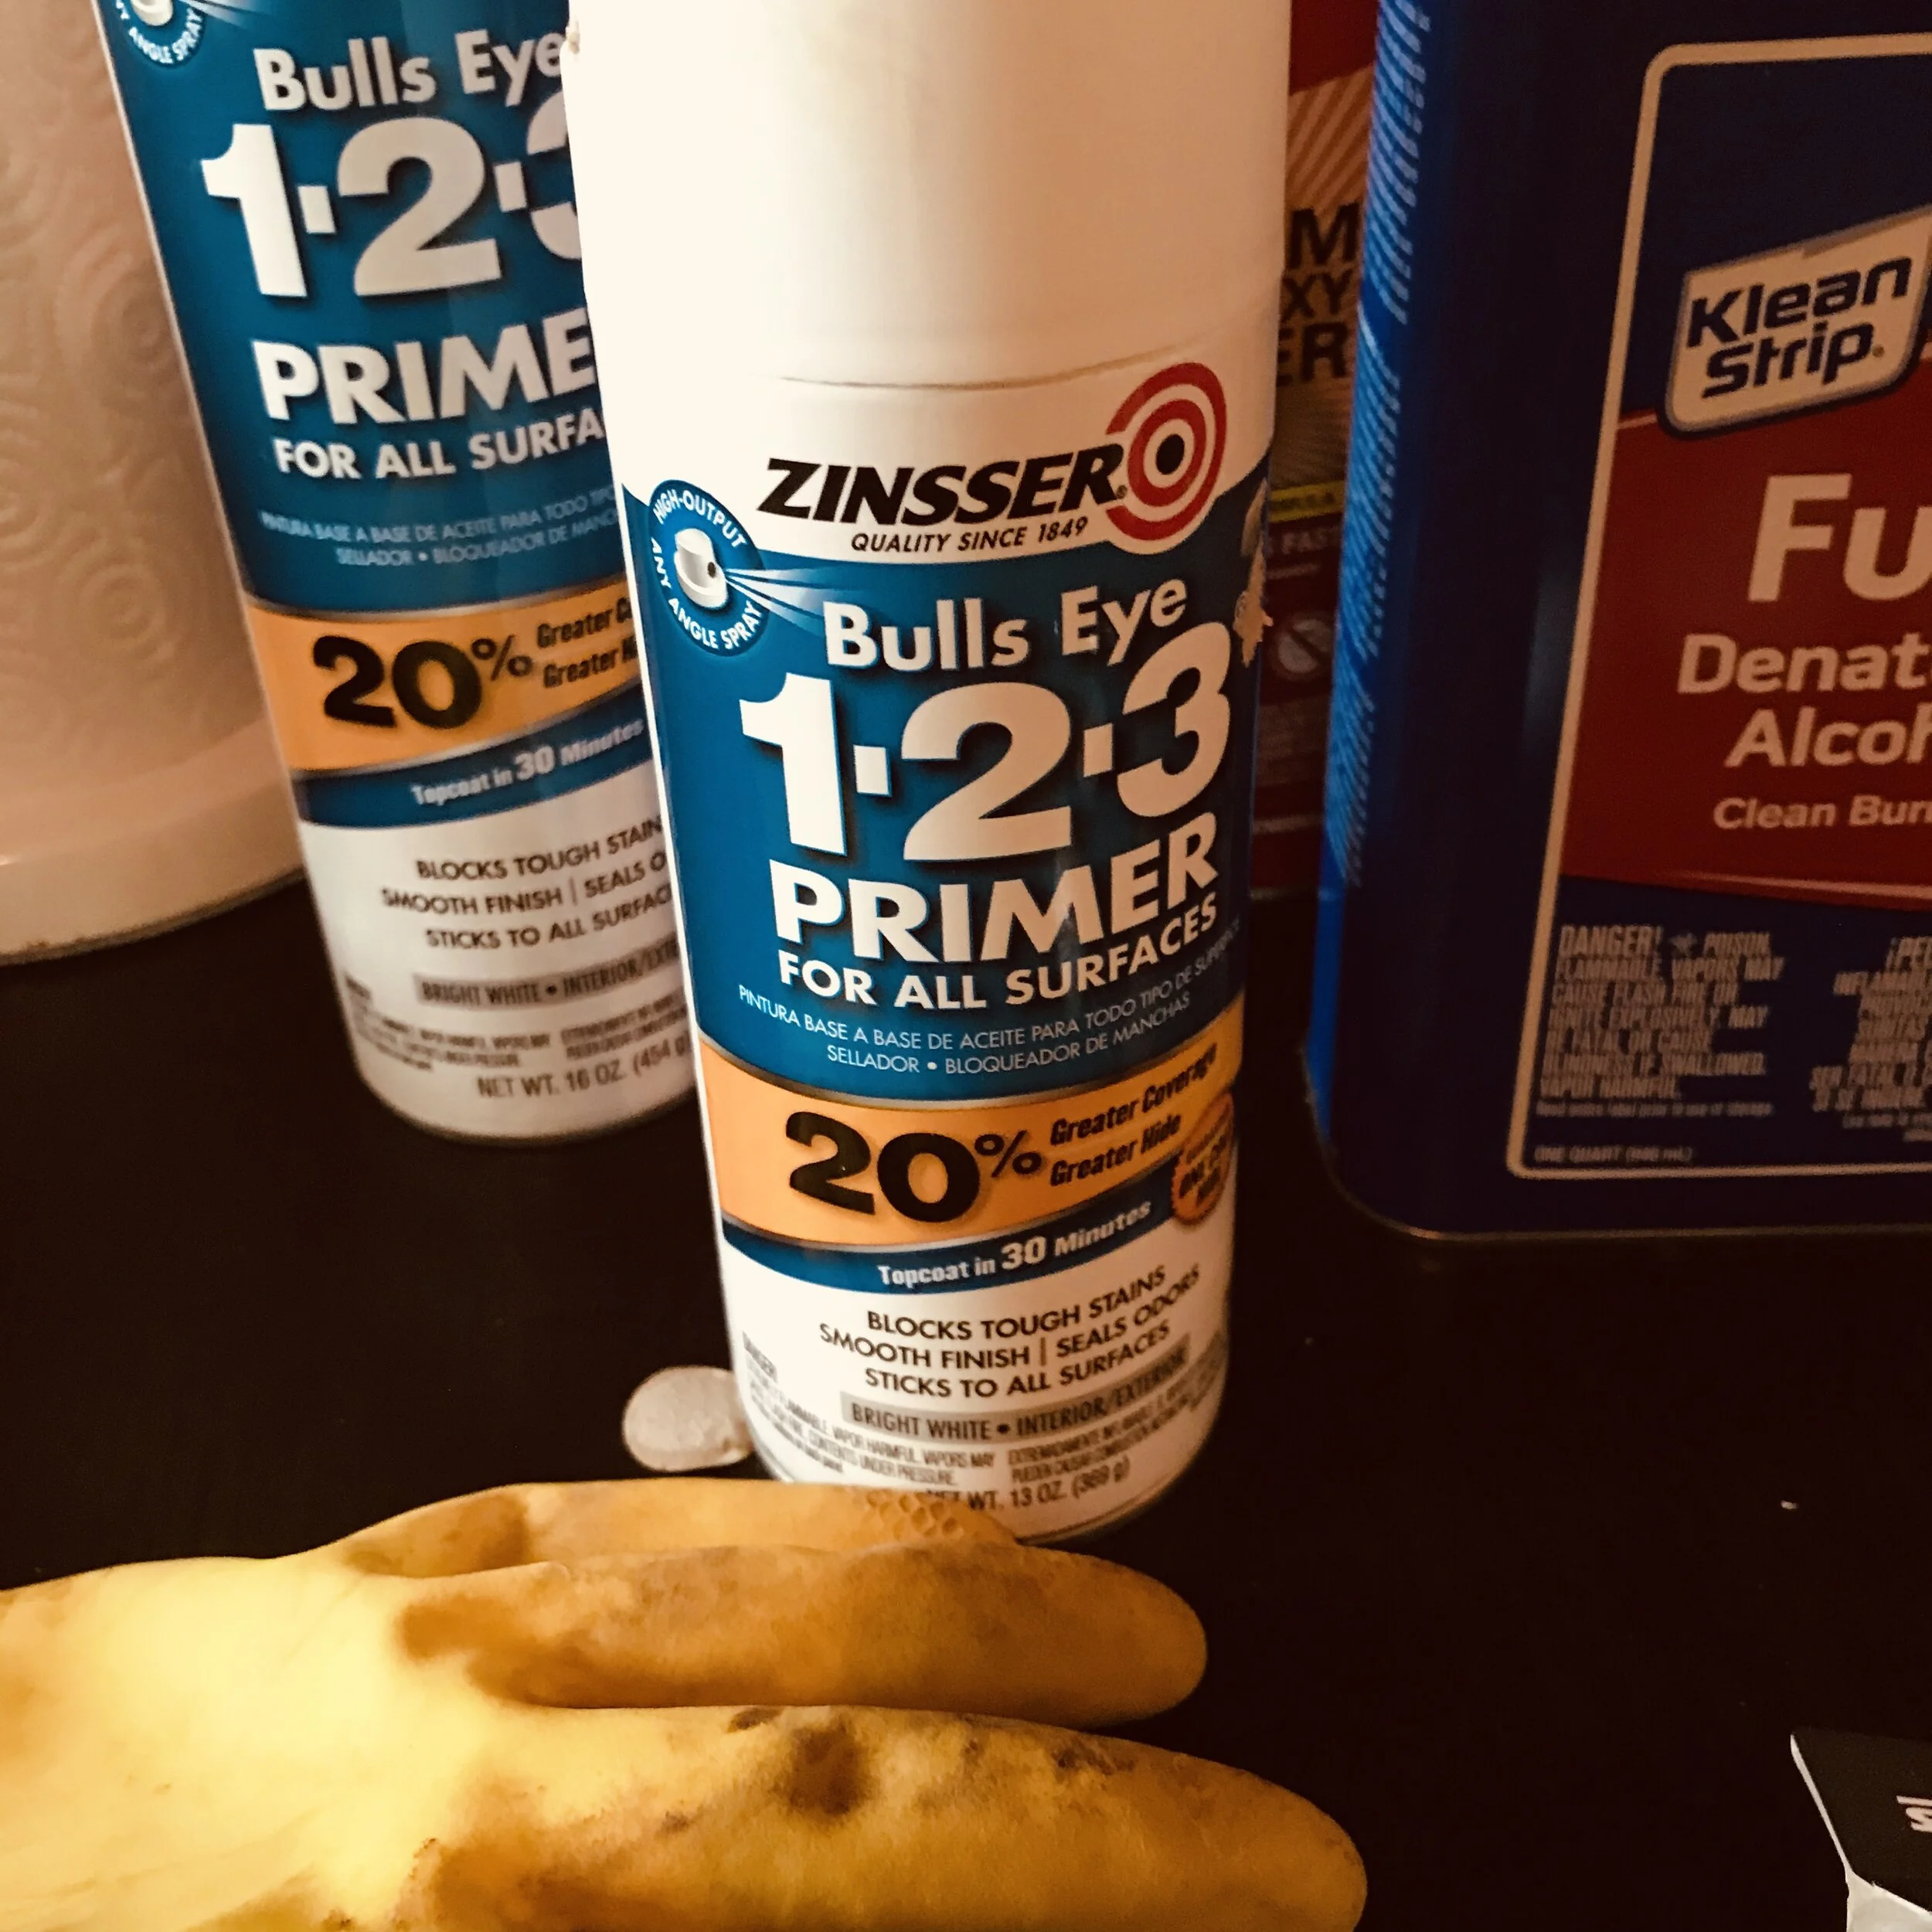
Before any action was taken, I had to strip the wood as it was heavy laden with layers and quite uneven in color. I used the CitriStrip, which works great. I applied Kwik Wood to the rotted areas, because they would need to be solid before sanding down the wood. Kwik Wood is like Play-Doh, but be sure to put on your gloves before applying. After the Kwik Wood dried, which by the way is absolutely fabulous and dries like cement, it was time to do some sanding down and priming. Due to the variations of color it was necessary to prime before painting.


After completion of the preliminary steps, it’s time to paint. I used Dixie Belle, Manatee Gray for this project. I absolutely love this paint for a variety of reasons. First, the paint goes on so smoothly and the coverage is amazing. Secondly, no odor at all which is a plus, because I decided to do this project on the hottest day we have had which meant I wasn’t able to do it in my 99 degree workshop area. I painted the desk in my house with no odors whatsoever - love it!!


